This is how you create automatic follow-ups and reminders
With our latest module, you can quickly and easily create automated follow-ups and reminders for your signatories. That way, you can spend your time on something more significant than paperwork and, at the same time, better ensure that the documents get signed within the deadline.
Here we will take a look at how you can use the module and start enjoying the many benefits of automating the follow-up process.
In short, step by step
- It starts with logging in to your SignIt account, where you click on "Modules" found in the upper right corner and then select "Reminders".

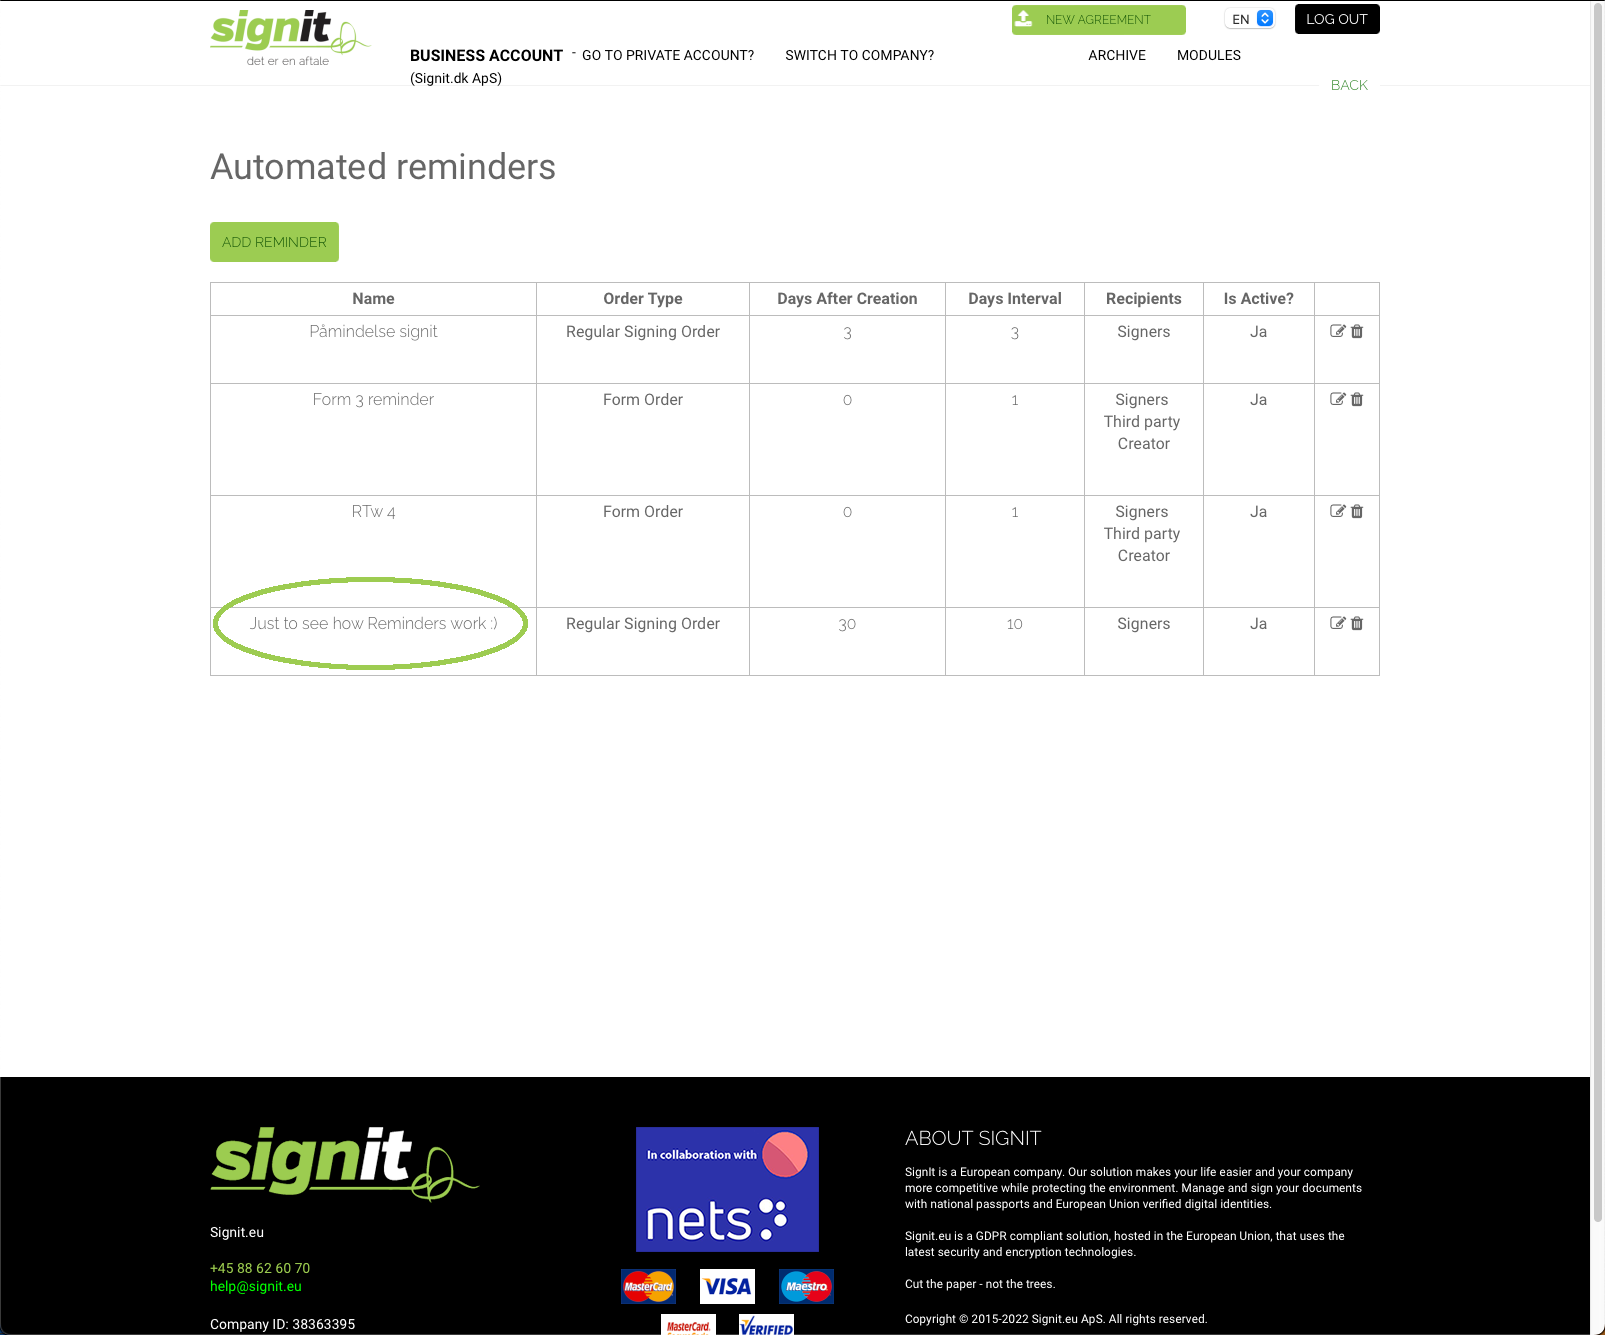
- Here you will initially see a list of the existing follow-ups and reminders you’ve created. Right now, it will be empty, but that will soon change. Click "Add reminder".

- You’ll see s options in the opened window, which will help you set up your reminder to suit your needs.

Below, we’ll briefly look at each option to help you make the best reminders.
- Reminder Name: Enter the name of your follow-up, so you can easily get an overview of your list of active reminders.
- Type: Here, you select the relevant form or contract you want to follow up on. Using this option, the follow-up will only apply to the recipients of that particular form.
- First Reminder: Here, you specify the number of days passed after you originally sent or created the document to be signed before the first reminder is to be sent to the recipient. (Remember that in the case of a form, the creation date applies from the time the form has been filled in)
- Reminder Frequency: Specify in days how often the reminder should be sent after the initial reminder.
- Recipients of Reminder Emails: You specify the group of people who will receive the reminder.
- Signatories: The persons who are to sign the documents
- T: The persons who can access and read the document without being able or needing to sign.
- Creator: T who created the agreement
- CC or BCC Reminder Email: If more people need to receive the reminder, you can enter them here with their email addresses.
- Reminder Email Subject: In this field, you write the email's subject to help the recipient see what the inquiry is about.
- Reminder Email Content: In general, our template is sent, but you are free to write and change the content to suit your needs.
- Active: Here, you can check whether the reminder should be active or inactive.
- Reminder Name: Enter the name of your follow-up, so you can easily get an overview of your list of active reminders.

Once you have filled out the fields, click "Save", and your reminder will be created. Quite simple!